Welcome to use SmartShow!BlazeVideo SmartShow is easy-to-use video creator which allows users to create movies, edit videos, and liven up movies with wonderful pictures, video clips, various fantastic effects, templates, stylish titles, transitions, music as well as editing tools, and export it to various portable devices or abundant video formats. BlazeVideo SmartShow supports almost all types of video formats like AVI, MP4, DAT, WEBM, RMVB, RM, MPG, MPEG, VOB, MOV, M4V, TOD, DV, WMV, ASF, 3GP, 3G2, DVR-MS, MPV, MUT, etc and audio in MP3. BlazeVideo SmartShow provides awesome video editing features like rotate, horizontally flip, vertically flip, add effect, add subtitle and add watermark on videos. Users can edit image aspect, brightness, contrast and saturation to bring a more visually enhanced picture. Users could rotate and flip image to the preferred spot. Users could add exquisite titles for different scenes, creative translations to polish the video. The following step-by-step guide would instruct you the way to create, edit and convert videos with this video editor. Step 1: Install and run BlazeVideo SmartShow:After installation, run the software. You can see the main interface below.
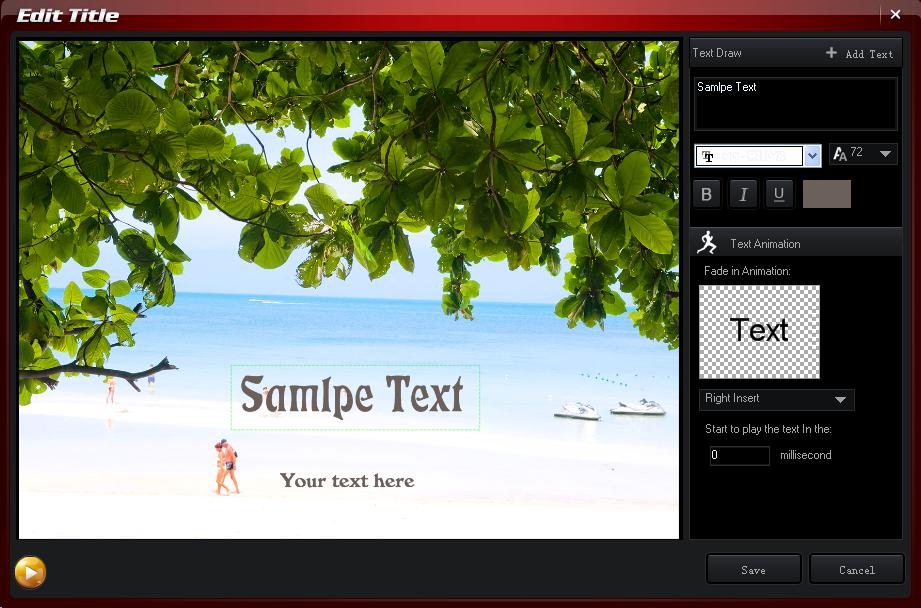
1. Select and edit Title
Step 2: Import Media Files:1. Click on “Import Media” button to add media files:
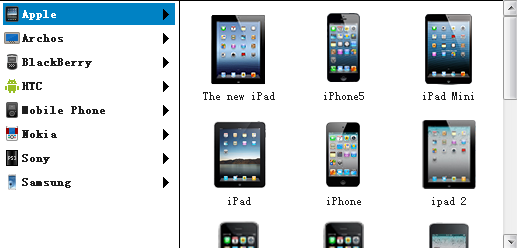
Tip: For senior user, if you do not want to add files with the software interface guide, you can check “Don’t show me this again” button. Next time when you run the software, this change would be activated. Step 3: Choose output video format:1.Export movie into portable device. Step 1.Click on the “Device” tab on the left side when you want to make file in the right format for your portable device. Step 2.Select the right device in the drop-down list of various portable devices.
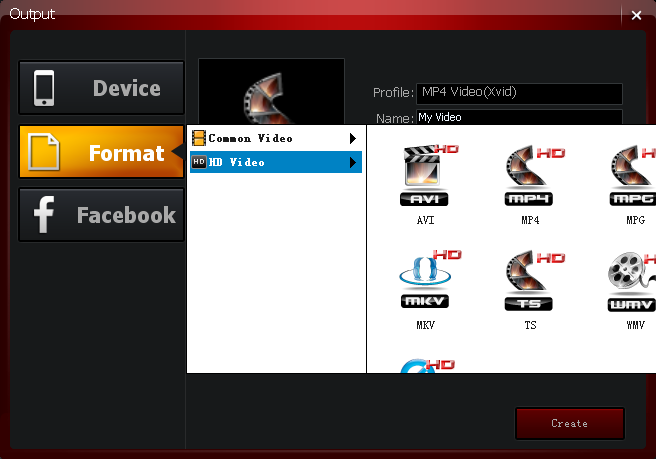
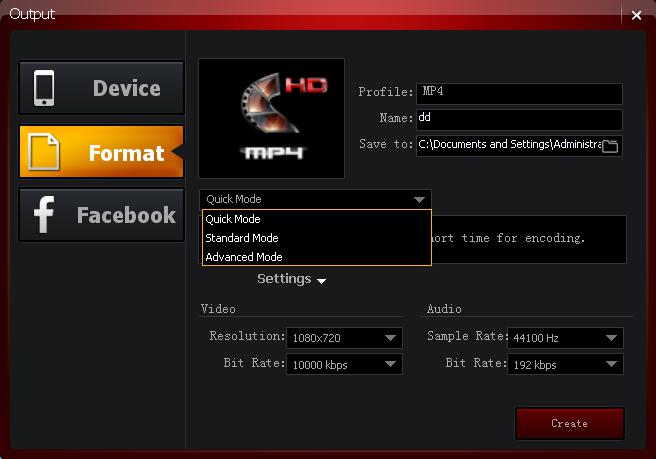
2. Export movie into various video formats. Step 1.Click on the “Format” tab on the left side to select the video format you need. Step 2.Select the right video formats in the drop-down list of “Common Video” formats or “HD Video” formats. Please have a look at the picture below.
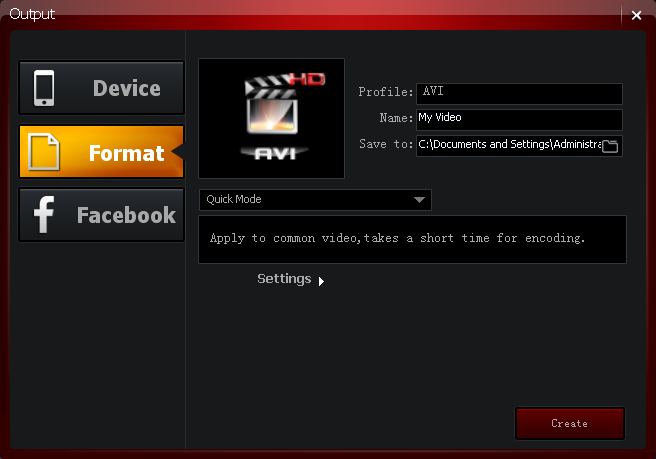
3. Name the output video 1. Edit the name of the video and choose the right place to save it by clicking on the folder icon in the “Save to” box.
Tip: For senior user, you can choose the fit mode for video in the dropdown list and the default mode is “Quick Mode”. Users could also edit the settings of video by clicking on the button and then choose the right “Resolution”, “Bit Rate” and “Sample Rate” for the video.
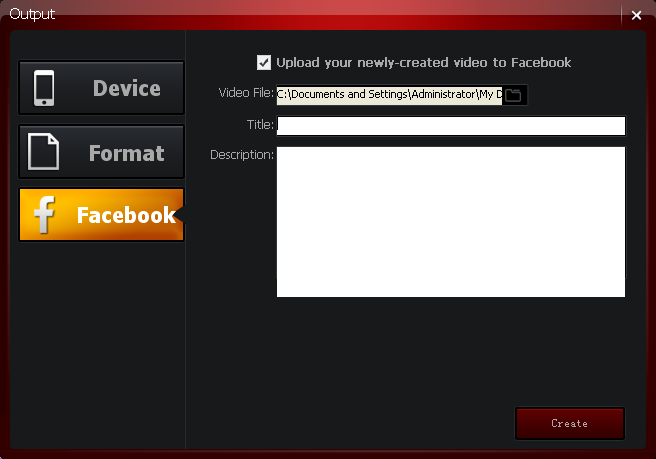
4. Crate Video Then click on “Create” button to make video. Step 4: Upload your video to Facebook (0ptional)Note: You need to visit your Facebook through your IE explorer for one time and then the cookie would be saved in your PC. You could upload your newly-created video to Facebook, or upload your video save on the storage media to the Facebook.
|
If you can’t find what you want here, please contact us. We'd love to hear from you or your friends. Please send an email to:
support@blazevideo.com We will reply you in 24-72 hours. Please contact us again after 72 hours without response. Search Help: Help with other products
|