|
|
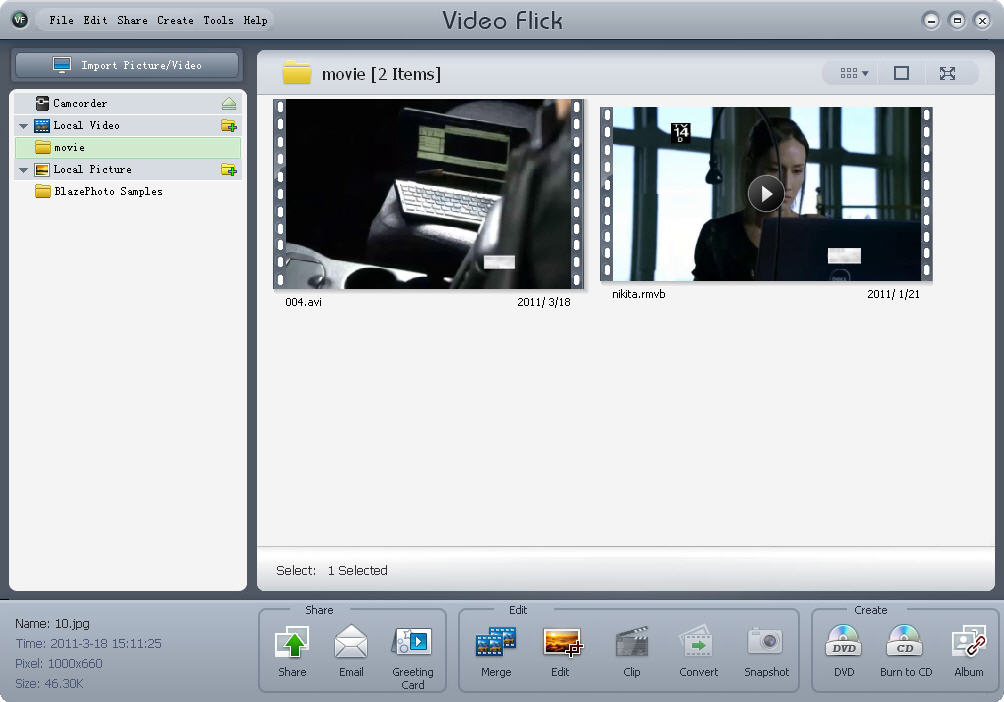
EditVideoFlick supports to edit your desired video and photo items. We will introduce how to edit video and photo items respectively. 1. Edit Video VideoFlick supports to edit video items by adding watermark and cropping the video item sizes. Now, let's do it step by step: Step 1. Select your desired video item you want to edit.
Step 2. Click
Step 3. Crop: Here you can crop desired video item size as you like:
Note: It's not available to set the crop size and position here by changing the digitals. Frequently-used: Several solutions for your choice:
Watermark: Click
Note: It's not available to set the watermark position by changing the digitals in the Horizontal Position and Vertical Position boxes. Please drag the text to select watermark position directly.
Step 4.
2. Edit Image VideoFlick supports to edit photo items by adding watermark and cropping the video item sizes. Now, let's do it step by step: Step 1. Select your desired photo item you want to edit.
Step 2. Click
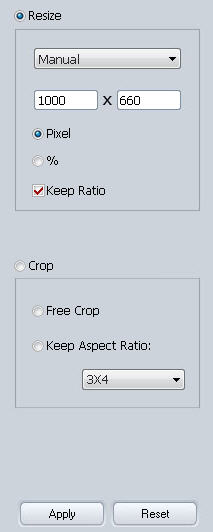
a. General: Here you can resize and crop desired video item size as you like:
Resize: Select to resize desired photo by pixel and %. Following sizes for choice: Manual, 1024X768, 800X600, 640X480, 480X320 and 320X240. Manual: Select to resize the photo manually.
Crop: Free Crop and Keep Aspect Ratio for selection. Free Crop: Select to crop anywhere any size as you like. Keep Aspect Ratio: Below for choice:
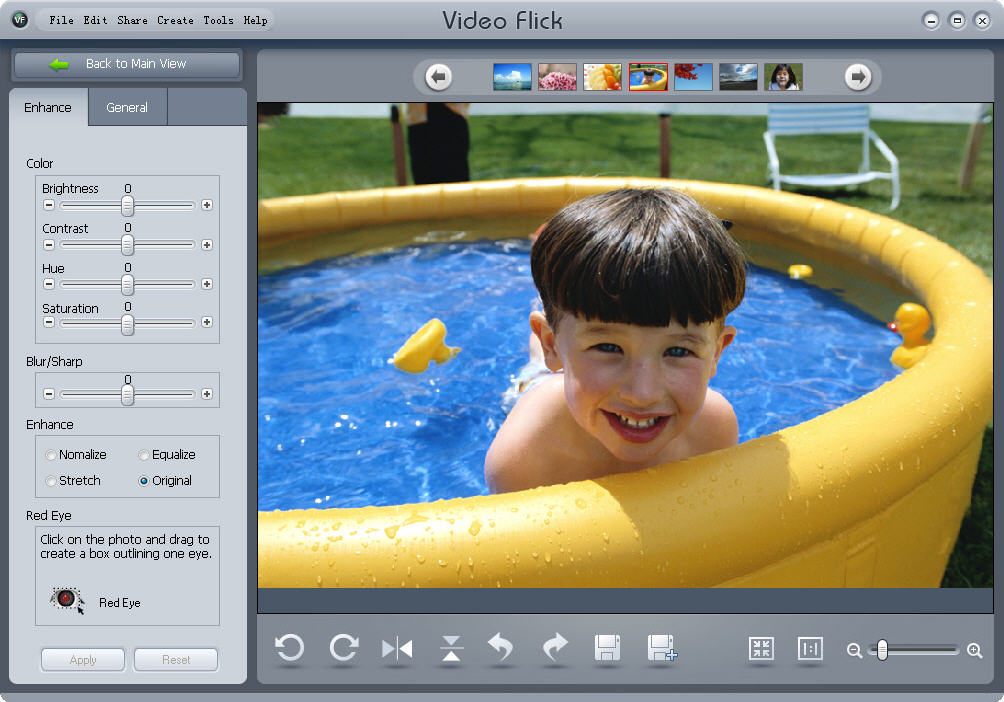
b. Enhance : Here you can make further editions.
Color: Here you can adjust Brightness,Contrast,Hue,Saturation and Blur/Sharp. Enhance: : Normalize,Equalize,Stretch and Null for your choice. Red Eye : : Click to move the red eyes in your photo.
Step 4. : Click
|
If you can’t find what you want here, please contact us. We'd love to hear from you or your friends. Please send an email to:
support@blazevideo.com We will reply you in 24-72 hours. Please contact us again after 72 hours without response. Search Help:
Help with other products
|
 , below box will pop up, here you can edit your desired video by adding watermark and cropping the video or photo item sizes:
 : Display current video file to help you select the cropping subject and size.
 : Stop displaying current video item.
 : Show current displaying progress. It's available to drag the bar directly to forward or backward the displaying progress.
  : Show your current cropping size. Drag the eight red points to change cropping size and post ion.
 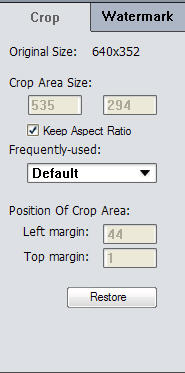 : Show size and position of current crop.
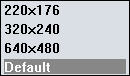
 : Click to restore the default setting.
  to add watermark on your video files. Below box will pop up:
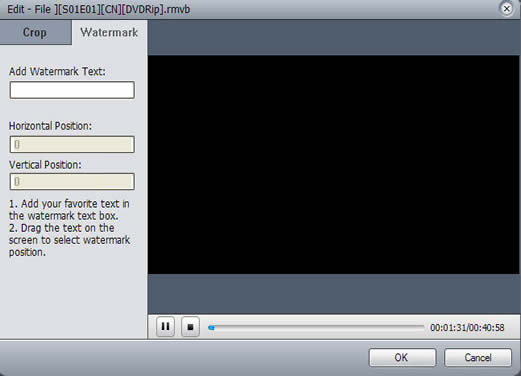
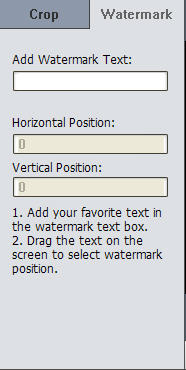 : Type in your desired watermark in the "Add Text Watermark" box. Show watermark text and position.
 : Drag watermark content to different areas to change your current watermark position.
 : Click OK to finish your current editing on the video file. The edited video file will be saved in the "File Saved Path" you set automatically.
  : Click Cancel to give up the editing.
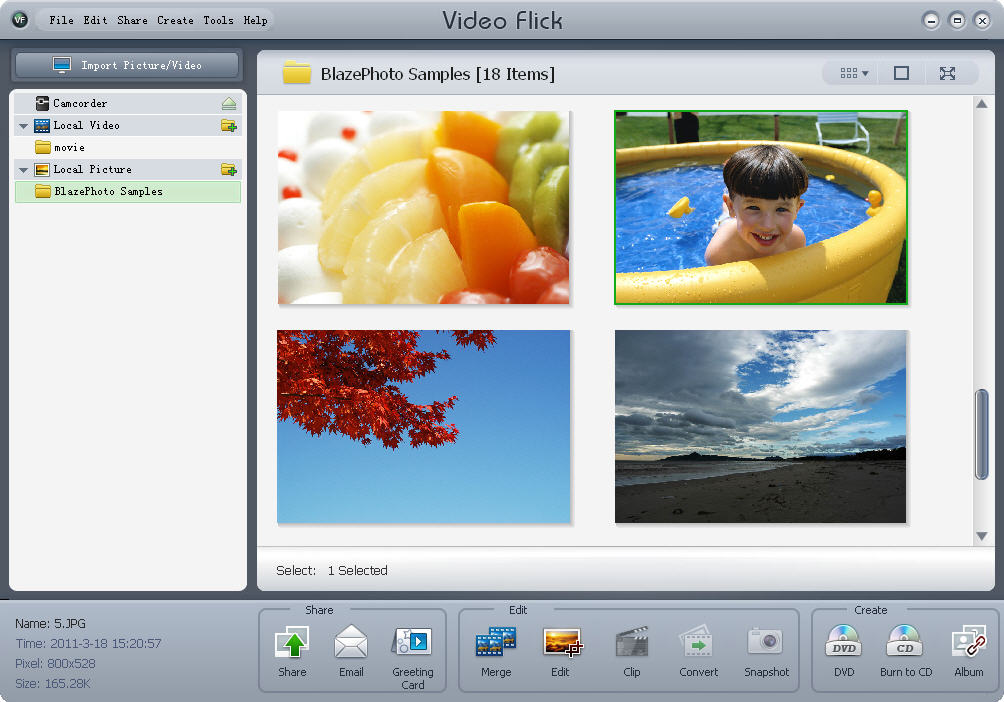
 : Display current photo file to help you select the cropping subject and size.
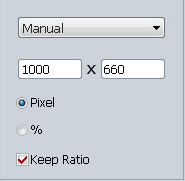 : Show current size by manually resizing.
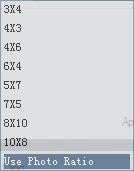

 : Click
  and
and  : Click to flip photo horizontally or vertically.
  : Click to zoom out or zoom in photo.
 : Click to go back to main screen.