|
|
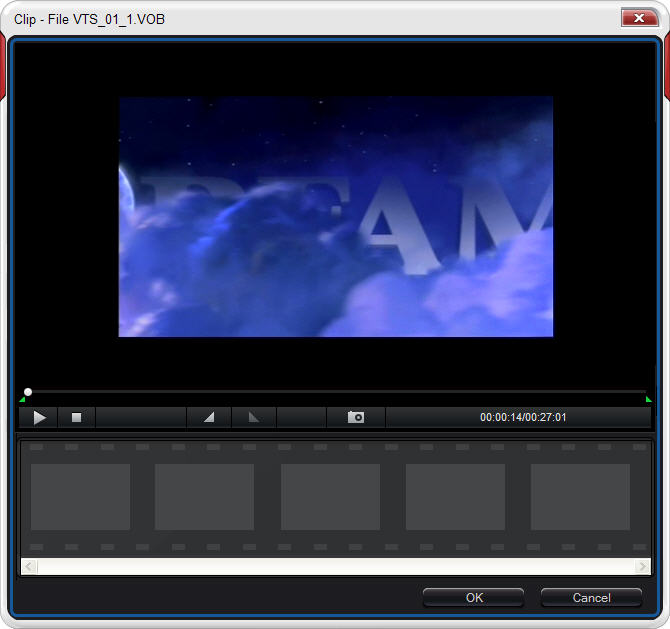
Clip, Edit and MergeIn article 1, we mainly give a detailed guide to convert video or DVD files for your portable devices. Here we will continue to introduce the another 3 functions of Video Magic: Clip, Edit and Merge. 1. Clip: Clip any part of your video item into several smaller segments. (Available in all versions of Video Magic. )Note: Only Video Magic Pro and Video Magic Ultimate support to clip DVD files. Step 1: After loading video files, click
Step 2: Use buttons below to operate:
Step 3. Click 2. Edit: contain powerful video or DVD eidting features: clip, crop, effect, subtitle, watermark (to edit DVD, you need to upgrade to Video Magic Pro and Video Magic Ultimate)2.1 Clip: clip your selected video or DVD you want to edit directly, there is no need to turn back to Clip box for video or DVD clipping.Step 1. After loading video files, click
Step 2. The default box in Edit window is Clip.
Step 3. Click 2.2 Crop: Crop video sides as you like.Step 1. In Edit box, click
Step 2. Drag the 8 red points to crop the video image size as you like.
Step 3. Click 2.3 Effect: Add special effects to personalize your video or DVD (brightness, hue, saturation and contrast).Step 1. In Edit box, click
Step 2. Drag the bar to change or adjust special effects (brightness, hue, saturation and contrast) onto your selected video or DVD: Step 3. Click 2.4. Subtitle: Add subtitle in your video file. (Available in all versions of Video Magic)Step 1: In Edit box, click
Step 2. Click 2.5. Watermark: Add watermark on your video files.Step 1. In Edit box, click
Step 2. Add your favorite text in the "Text " and drag the added text on the screen to select the watermark position. You can also drop down to select your preferred color and size for your watermark. Step 3. Click 3. Merge: Merge multiple video files into one. (Available in all versions of Video Magic. )Step 1. Click
Step 2. Click |
If you can’t find what you want here, please contact us. We'd love to hear from you or your friends. Please send an email to:
support@blazevideo.com We will reply you in 24-72 hours. Please contact us again after 72 hours without response. Search Help:
Help with other products
|

 to finish, the clipped file will be shown on the main box of Video Magic. Click
  to go to Edit box as below:
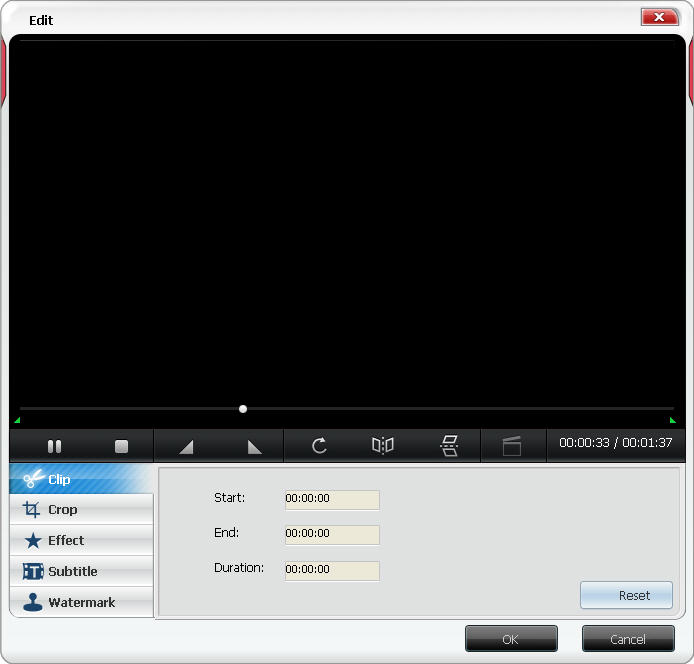
 to show Crop box below:
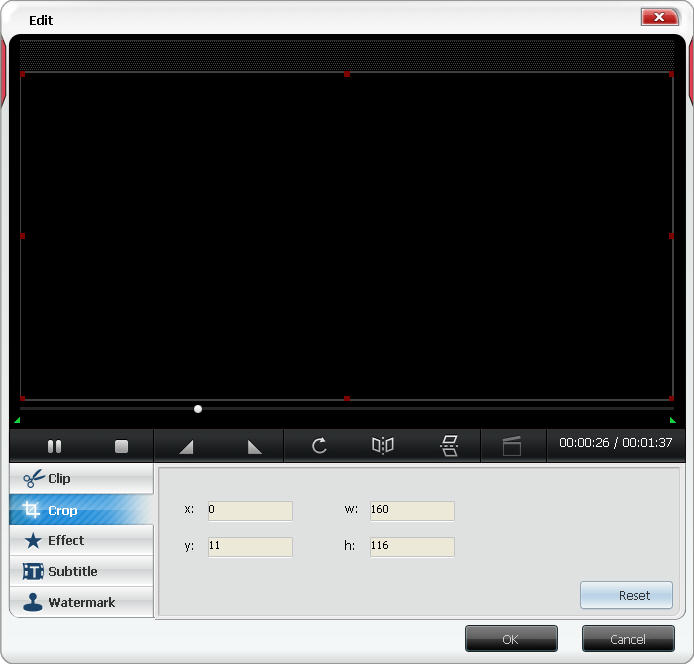
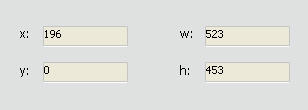 :Show your cropped video info.
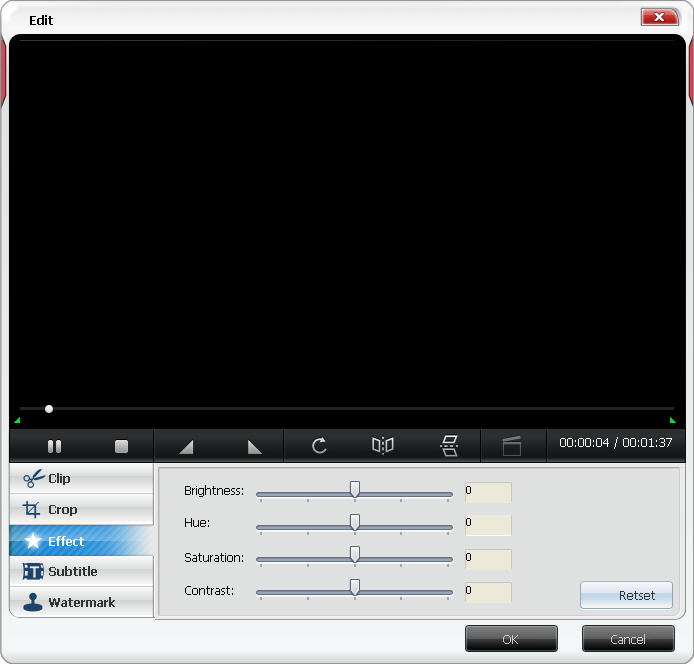
 to show Subtitle tab as below:
 : click
  to plug in your subtitle.
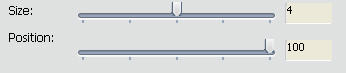 : Drag to change the added subtitle size and vertical position.
 to add watermark:
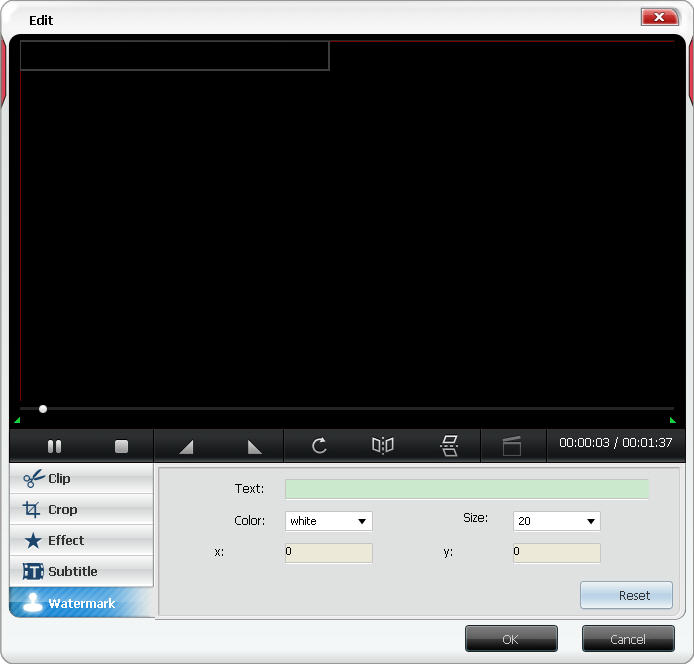
 to open Merge box:
 : Select your desired movie file, then click this Movie Left button to move this file.